How to blur faces and hide text in photos and videos on a Mac
Hide a face, a name or a number plate before you share a photo or a video, with Preview, Photos, a free editor or Beckon, without uploading it anywhere.
 David OtiFounder, Beckon
Before a photo or a screen recording goes into a bug report, a listing, a group chat or a blog post, there’s often something to hide first: a face, a name, a number plate, an address, an email in a screenshot. Here are the ways to do it on a Mac, and what to watch out for.
First: hide it properly
- Make it part of the picture. A box that’s only an annotation on top can sometimes be taken off by whoever gets the file. What you send should have the pixels themselves covered.
- Blur hard, or use a solid box. A light blur over text can sometimes be read back. For text and numbers, solid is safest.
- Mind the details. A photo carries where and when it was taken. Hiding a face doesn’t hide the location.
Photos: Clean Up
On a Mac with Apple Intelligence turned on, open the photo in Photos, click Edit, then Clean Up, and brush over a face: instead of removing it, Photos covers it with a pixelated mosaic. Quick, but only for faces, only for photos in your library, and only on Macs with Apple Intelligence.
Preview: boxes on images, Redact for PDFs
For an image, open it in Preview, show the Markup toolbar, draw a rectangle from Shapes, and set its fill colour to black. When you save a JPEG or PNG, the box becomes part of the picture. Preview saves over the original, so choose File → Duplicate first if you want to keep it. There’s no blur: boxes only.
For a PDF, Preview has a real redaction tool: Tools → Redact, then drag over the text or the area. When the document is saved, what’s under the black bars is removed, not just covered.
Video: a full editor
QuickTime and iMovie can’t blur part of the picture. For video you need an editor with a blur effect and, if what you’re hiding moves, a tracker that follows it. DaVinci Resolve’s free version does both, with a learning curve. Online tools do it in the browser, but they mean uploading your video to someone else.
Redact, with Beckon
Beckon puts your Dock in a ring around the pointer, and when you’re dragging files, the ring has two more slots: Convert and Actions. Drag the photo, press ⌥Space, point at Actions and drop it on Redact, and it opens in a window:
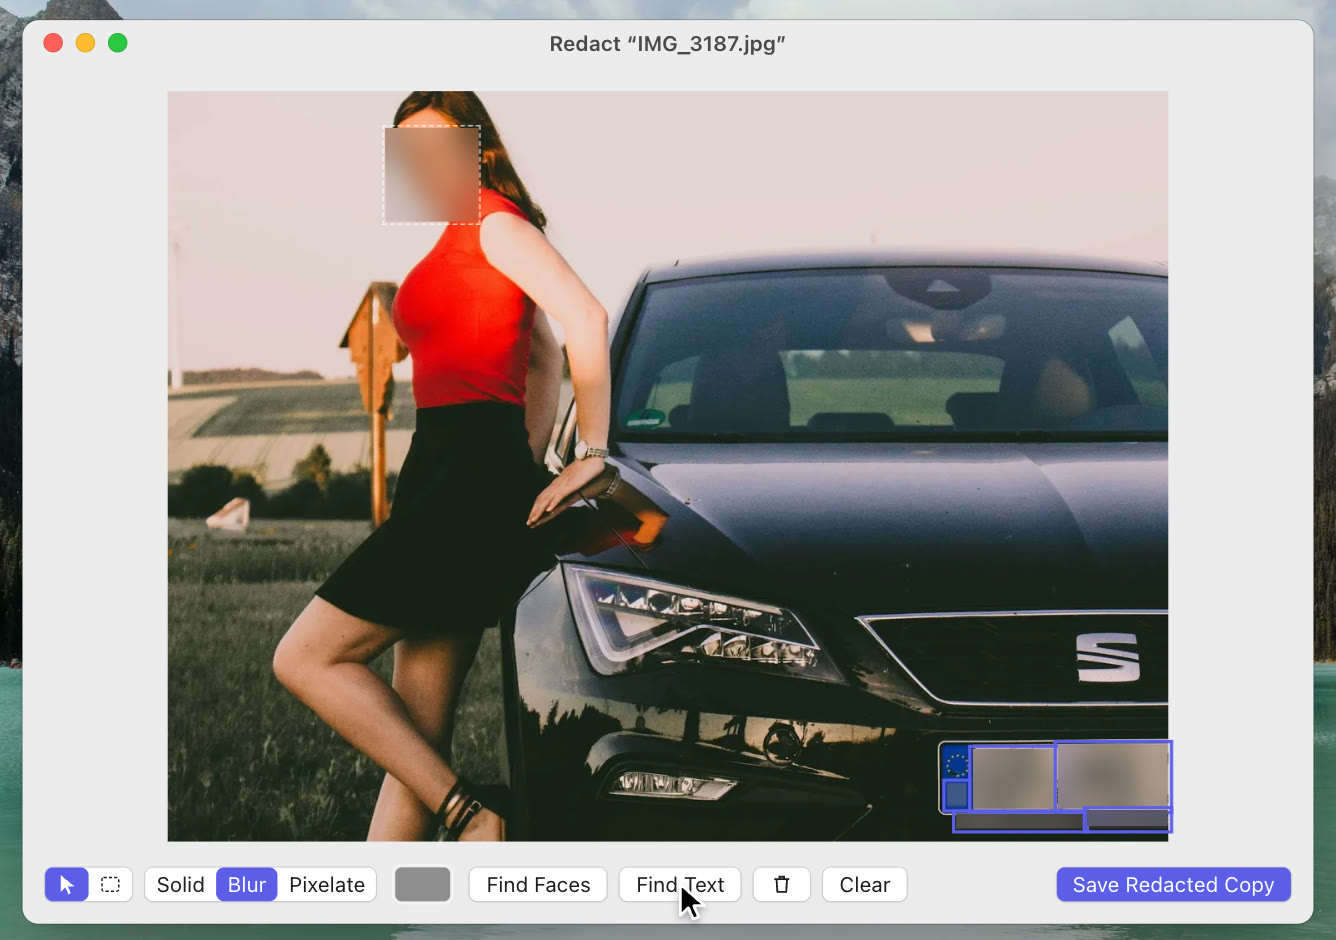
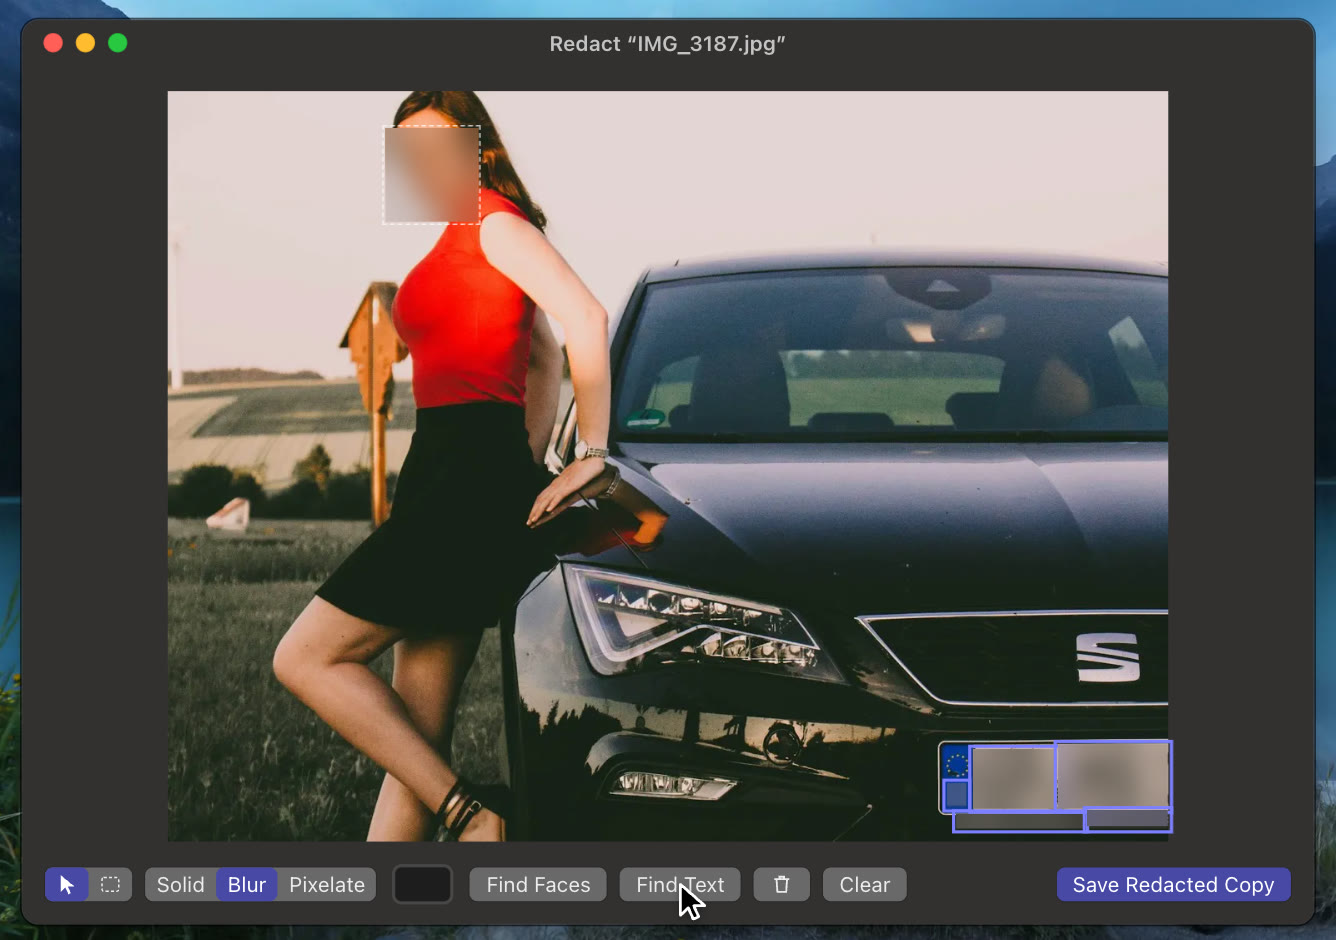
- Find Faces and Find Text put a box over every face and every piece of text. Take off any you want to keep.
- Draw more boxes yourself, and move or resize them.
- Solid, Blur or Pixelate, strong enough that nothing under them can be read.
- Save Redacted Copy saves a new image with the boxes burnt in, and without the original’s details: no location, no date. The original isn’t touched.
For a video, Redact works the same way, with boxes that are Solid or Blur. Draw a box and it’s on from that moment to the end; drag its range on the strip below to set when it starts and stops. Beckon doesn’t track things that move, so it suits what stays put: a name in a screen recording, a sign, a face in a talking-head clip. For a face that moves around the frame, use an editor with a tracker.
Redact is part of Beckon Pro, which is $24 once, and every download starts with 14 days of Pro. The drop actions guide has every tool, including Remove location, which takes just the GPS position out of a photo.
More
- How to convert HEIC to JPEG on a Mac
- How to compress a video on a Mac without uploading it
- How to put websites in the Mac Dock
- A Mac Dock alternative that comes to your cursor
- How to hide the Dock on a Mac (or make it disappear for good)
- How to switch apps on a Mac without the keyboard
- How to switch to a specific window on a Mac (6 ways)
- Beckon, ⌘Tab, AltTab or Raycast: which app switcher for Mac?
- Why I built Beckon