How to convert HEIC to JPEG on a Mac
Every free way to turn iPhone HEIC photos into JPEGs on a Mac, from one photo to a folder full, and how to stop your iPhone making HEIC in the first place.
 David OtiFounder, Beckon
iPhones save photos as HEIC. It keeps them about half the size of a JPEG at the same quality, and your Mac opens it without a second thought. The trouble starts when a photo leaves Apple’s world: an upload form that only takes JPEG or PNG, a colleague on an older Windows PC, a print shop, a website’s CMS. Then you need a JPEG.
Here are the free ways to convert HEIC to JPEG on a Mac, from one photo to a folder full, and how to stop it coming up at all.
Finder: Convert Image
The quickest built-in way, and the one most people don’t know about. Select one or more HEIC files in the Finder, right-click, and choose Quick Actions → Convert Image. Pick JPEG, a size (or Actual Size), and whether to keep the photo’s details, like where and when it was taken. The JPEGs are saved next to the originals.
Preview
Open the photo in Preview, choose File → Export…, set Format to JPEG, and pick a quality with the slider. The HEIC stays as it was.
For several, open them all in Preview, select their thumbnails in the sidebar (⌘A), choose File → Export Selected Images…, and click Options to pick JPEG.
Photos
If the pictures are in your Photos library, select them and choose File → Export → Export Photos…, with Photo Kind set to JPEG. You can choose the quality and the size there too.
Terminal: a whole folder at once
macOS comes with sips, a small command-line image tool. For one file:
sips -s format jpeg IMG_2041.heic --out IMG_2041.jpgFor every HEIC in a folder, cd into it and run this (it catches .heic and .HEIC, and keeps each name):
for f in *.(heic|HEIC); do sips -s format jpeg "$f" --out "${f:r}.jpg"; doneAdd -s formatOptions 80 after jpeg for a smaller file at quality 80.
Or stop making HEIC
On the iPhone, Settings → Camera → Formats → Most Compatible makes the camera save JPEGs from now on. Your photos take more space, and a few camera modes need High Efficiency. Or keep HEIC on the phone and set Settings → Photos → Transfer to Mac or PC to Automatic, which converts to JPEG when you import with a cable.
Convert it on the way, with Beckon
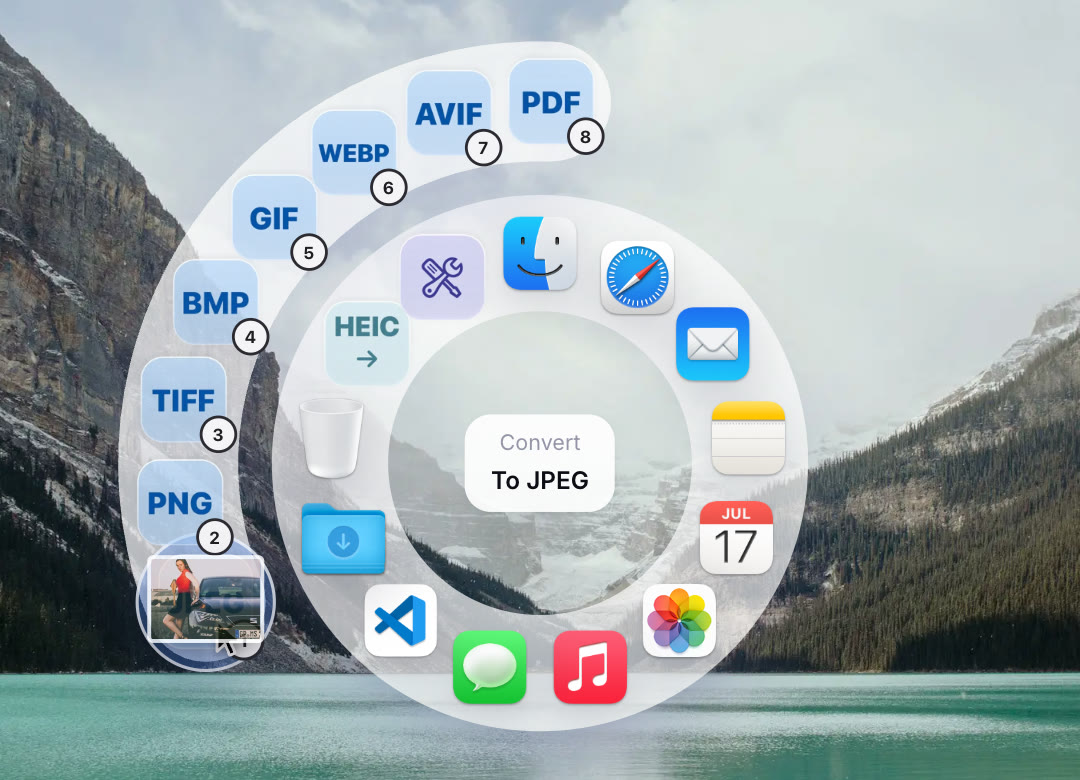
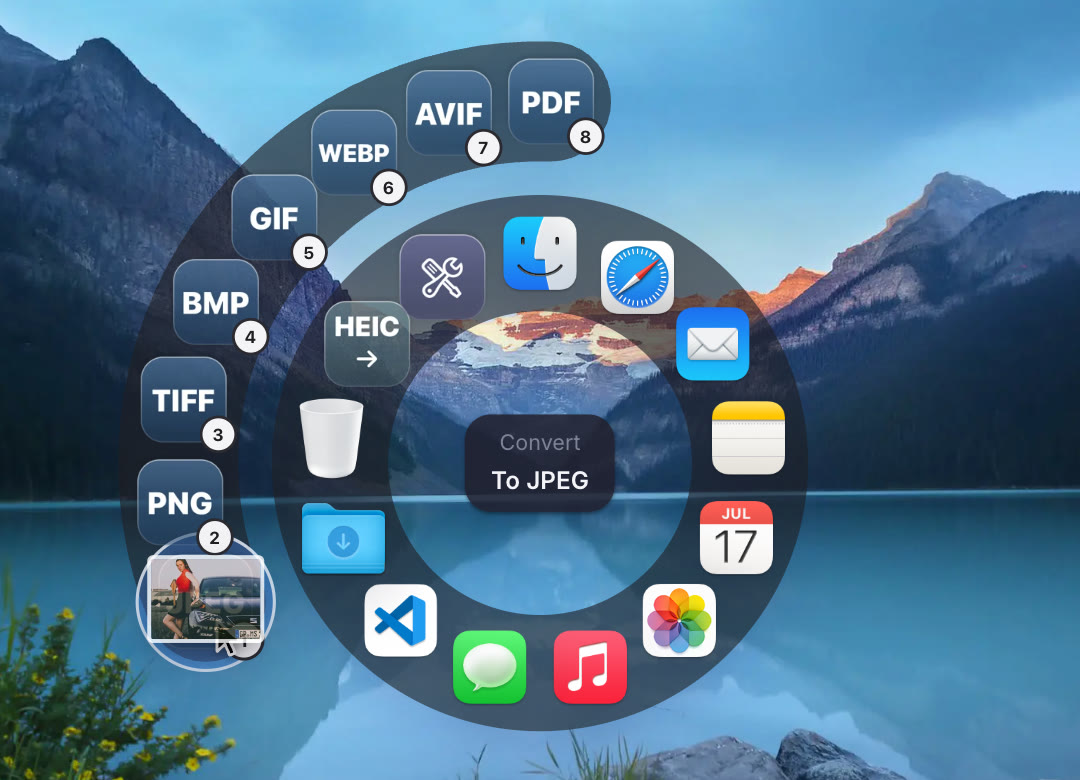
Most of the time I don’t want to convert a photo for its own sake. I want to drop it somewhere, and the somewhere wants a JPEG. So Beckon does it on the way. Beckon puts your Dock in a ring around the pointer, and when you’re dragging files, the ring has two more slots: Convert and Actions.
Start dragging the HEIC (from the Finder, the desktop, Photos or Mail), press ⌥Space, point at Convert, and drop it on To JPEG. A note where you dropped it says when it’s done.
- Several at once. Drag a whole selection and each one becomes a JPEG.
- Other formats too: PNG, TIFF, WebP, AVIF, GIF, or one PDF with a page per photo.
- Nothing overwritten. Results go in Downloads → Beckon, which is on the ring, so you can drag them straight into the upload form or the email. Or have them saved next to the original (Settings → Actions).
- On your Mac. Nothing is uploaded anywhere.
Converting images is free in Beckon, trial or not. The other drop actions (compressing, trimming and redacting, and converting video, audio and documents) are part of Pro, which is $24 once. They’re all in the drop actions guide.
More
- How to compress a video on a Mac without uploading it
- How to put websites in the Mac Dock
- How to blur faces and hide text in photos and videos on a Mac
- A Mac Dock alternative that comes to your cursor
- How to hide the Dock on a Mac (or make it disappear for good)
- How to switch apps on a Mac without the keyboard
- How to switch to a specific window on a Mac (6 ways)
- Beckon, ⌘Tab, AltTab or Raycast: which app switcher for Mac?
- Why I built Beckon