

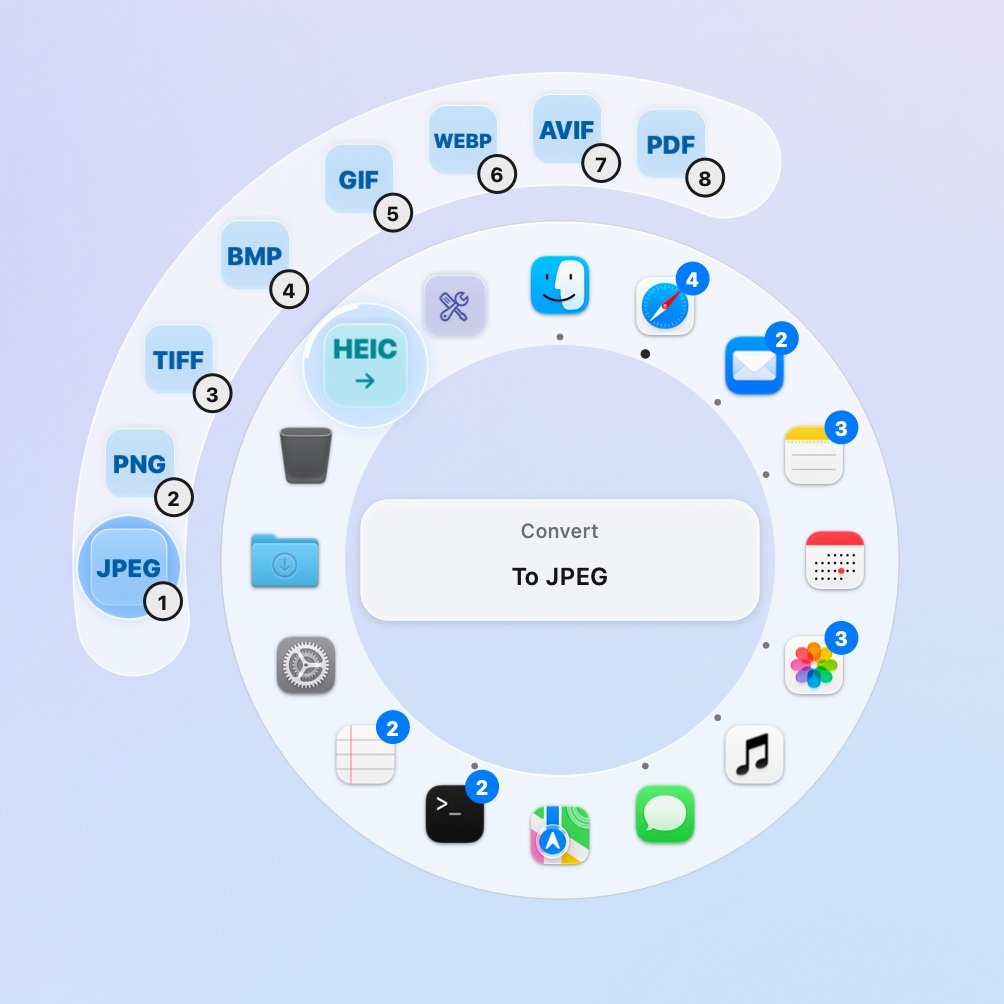
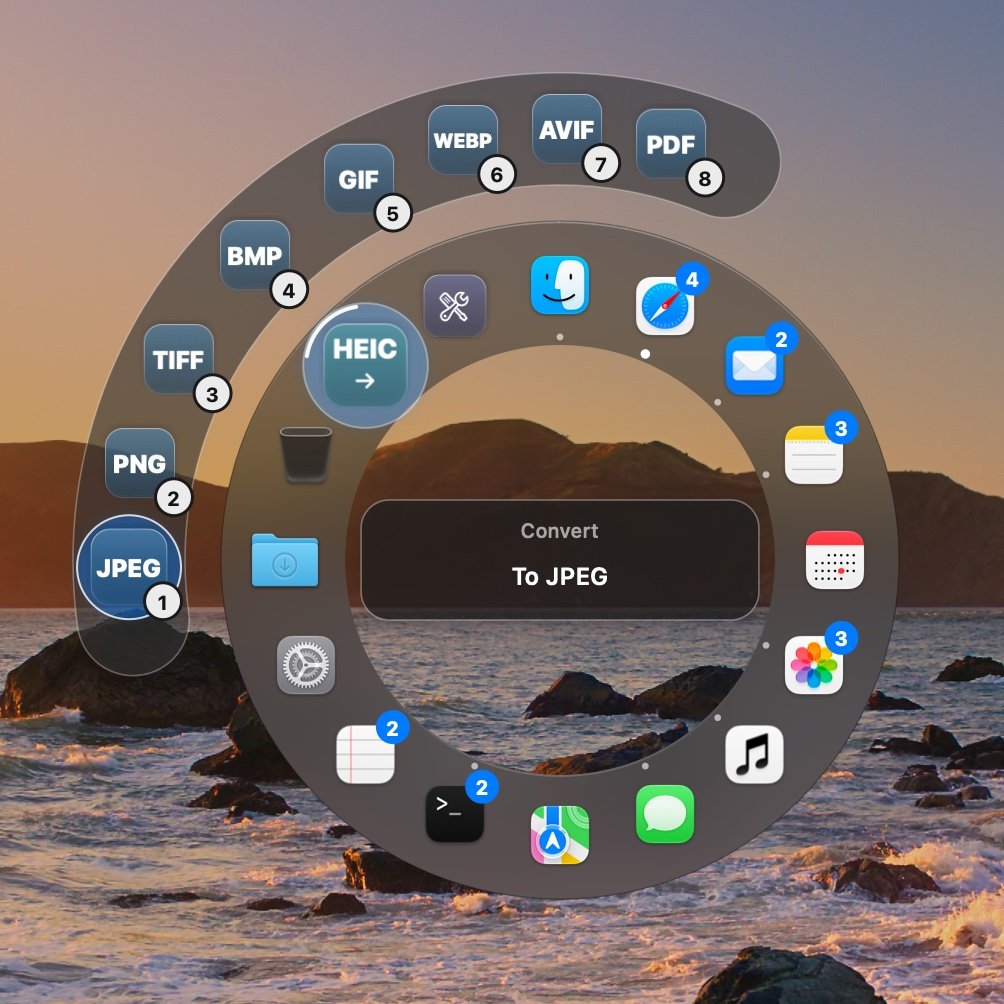
- Convert shows the format you’re dragging, such as HEIC →. Point at it and the formats it can become fan out.
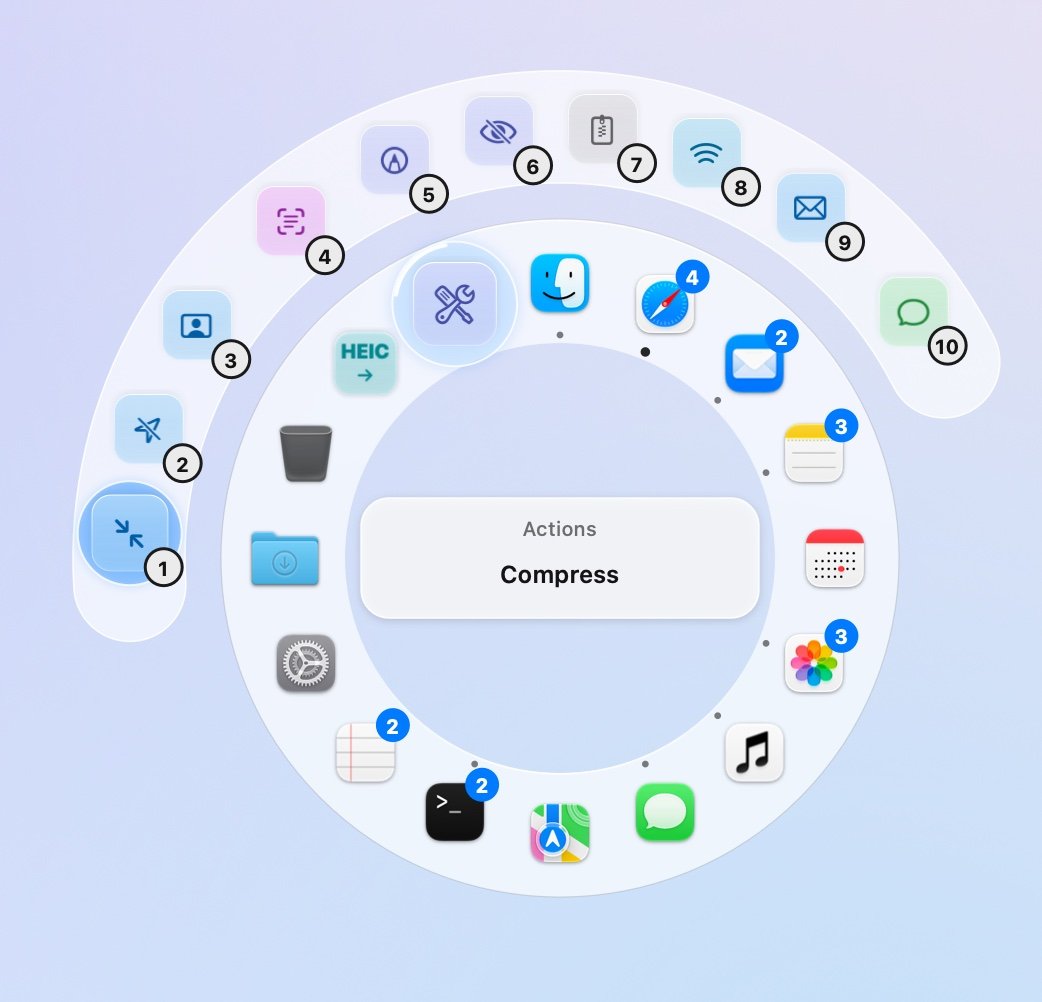
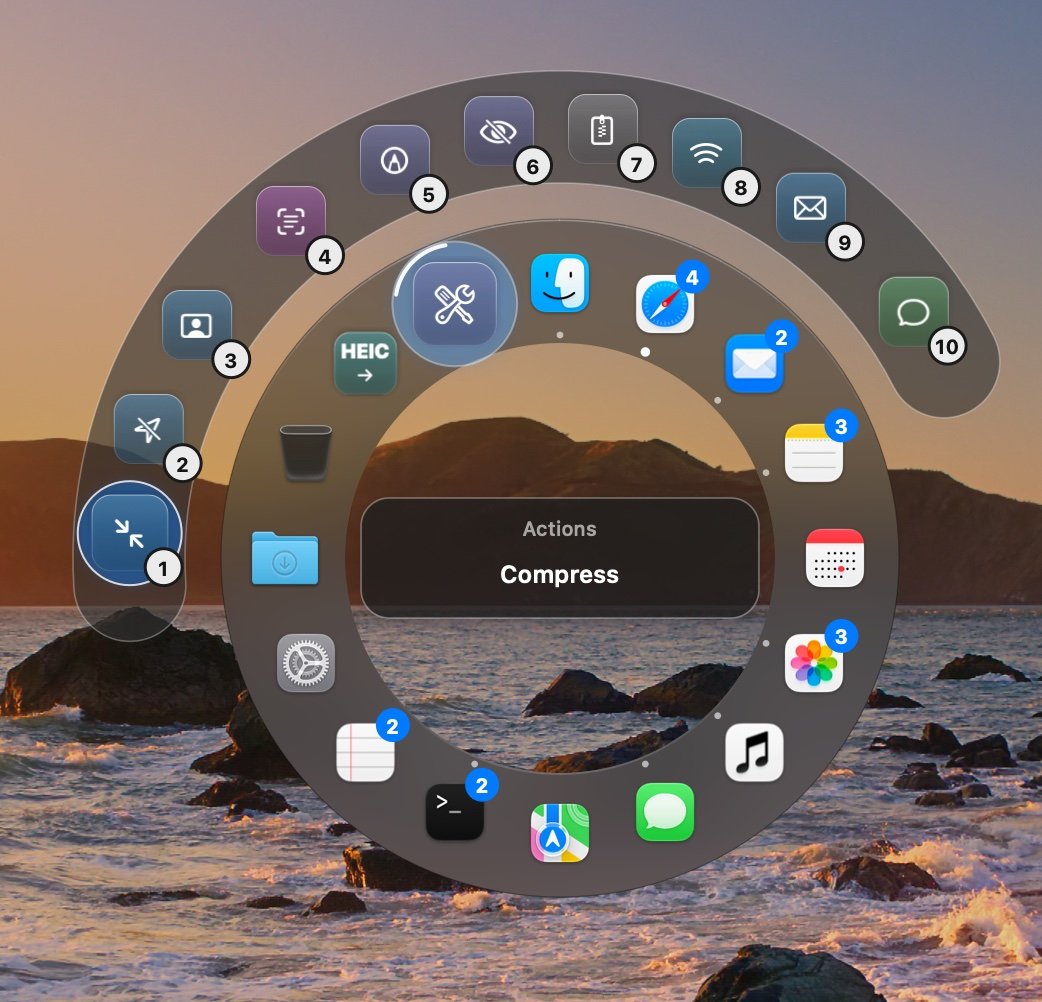
- Actions, the tools, has everything else: compress, crop, trim, redact, zip, send and more.
1
Start dragging files
From Finder, the desktop, Photos, Mail, or any app that lets you drag files.
2
Press the shortcut
The ring opens around the pointer with Convert and Actions after the Trash. It stays
open while you drag, even if you let go of the shortcut.
3
Point at a slot, then drop on what you want
What fits the files fans out beyond the ring. Drop them on one. A note where you dropped them
says how it’s going, then where the result went; Show selects it in the Finder.
Convert
The format the files are already in isn’t offered.
Actions
The ones in bold open a window (below); the rest are done straight away. Windows take one file at a
time, except Compress, which takes several.
- Remove location takes the GPS position out of a photo’s details. Where the format allows, the picture isn’t re-encoded, so it looks exactly the same.
- Remove background lifts the subject (a person, a pet, an object) off its background into a transparent PNG.
- Copy the text reads the text in images and scanned PDFs and puts it on the clipboard. A PDF that already has text gives you that text.
- Markup opens a copy in Preview, with its Markup tools: draw, shapes, text, signatures, crop and rotate.
- Smaller (PDFs) saves a PDF’s images as JPEG at screen resolution. A PDF that’s mostly text is often as small as it gets; then nothing is saved and the note says so.
- Zip makes one archive of a file or folder, as the Finder’s Compress does, or of several.
- AirDrop, Mail and Messages open macOS’s own windows with the files in them.
The windows
- Compress (images and video): choose a Preset (High, Medium or Small), a File size (“about 25 MB”, for an email limit) or a Percentage. It shows the original size and what it’ll come to; Return compresses with the size it opened on. Images come out as JPEG or HEIC, video as MP4. A size asked for is met with the best quality that fits; simple footage often comes out smaller still.
- Trim: QuickTime’s trim bar: drag its ends and click Trim.
- Split: play, or click the strip of frames, to a moment, then Add Split Here. Each mark has an × to take it off. Save makes a clip of each part, copied as they are.
- Speed: 0.25× to 4×, playing as you choose; the sound keeps its pitch.
- Crop (video): drag the box or its handles, choose a shape (1:1, 16:9, 9:16, 4:3, 3:4) or type the size.
- Snapshots: play or scrub to a moment, Add Frame, and save each as a full-size PNG.
- Redact (images): Draw boxes over what should be hidden; Select to move, resize or delete them; Find Faces and Find Text box them for you. Solid, Blur or Pixelate, strong enough that nothing under them can be read. ⌘Z undoes. The copy has none of the original’s details (where and when it was taken).
- Redact (video): draw a box on the video; it’s on from that moment to the end. Drag its range on the strip beneath, or use Start Here and End Here. Solid or Blur.
Where results go
In the Beckon folder (Downloads → Beckon), unless you choose Next to the original in Settings → Actions. Either way the original is never changed or replaced: a result is named after it (photo (compressed).jpg, clip (trimmed).mov, doc page 1.png), and numbered rather
than replacing a file that’s already there.
Files dragged from Photos, Mail and other apps that hand over a copy as you drop always go in the
Beckon folder, since they have no folder of their own.
The Beckon folder on the ring
Once it has something in it, the Beckon folder sits on the ring with your other folders. Point at it and your newest results fan out: drag one straight into Mail, Slack or a Finder window, or open it. Don’t want it there? Turn off Show the Beckon folder on the ring in Settings → Actions.Choose which actions show
Settings → Actions lists every action by what it works on. Switch off the ones you don’t use and they won’t fan out; drag to put the ones you use most first. Show All in Order puts them back. See Settings.While it works
- A long job (a big video, a long PDF) shows its progress in the note. Point at the note and click its × to cancel; what it was making is removed.
- Formats macOS can’t write (WebP, AVIF, MP3, OGG, Opus, WMA, WebM, MKV, AVI, WMV) need a converter, which Beckon downloads from withbeckon.app the first time you choose one (about 7 MB) and keeps. It sends nothing about your files.
- Pages, Keynote and Numbers do the office conversions; macOS asks once whether Beckon may control each of them. They need to be installed (they’re free in the App Store).
- Everything happens on your Mac, in a separate, short-lived copy of Beckon, so a big job never adds to Beckon’s memory.